A project gives your team a dedicated board, workflow statuses, task tags, and member roles for a specific initiative. If you are still deciding how to structure work, start with Understanding Accounts vs. Projects.
Create the project
- Switch to the account that should own the project.
- Open Projects and choose New Project.
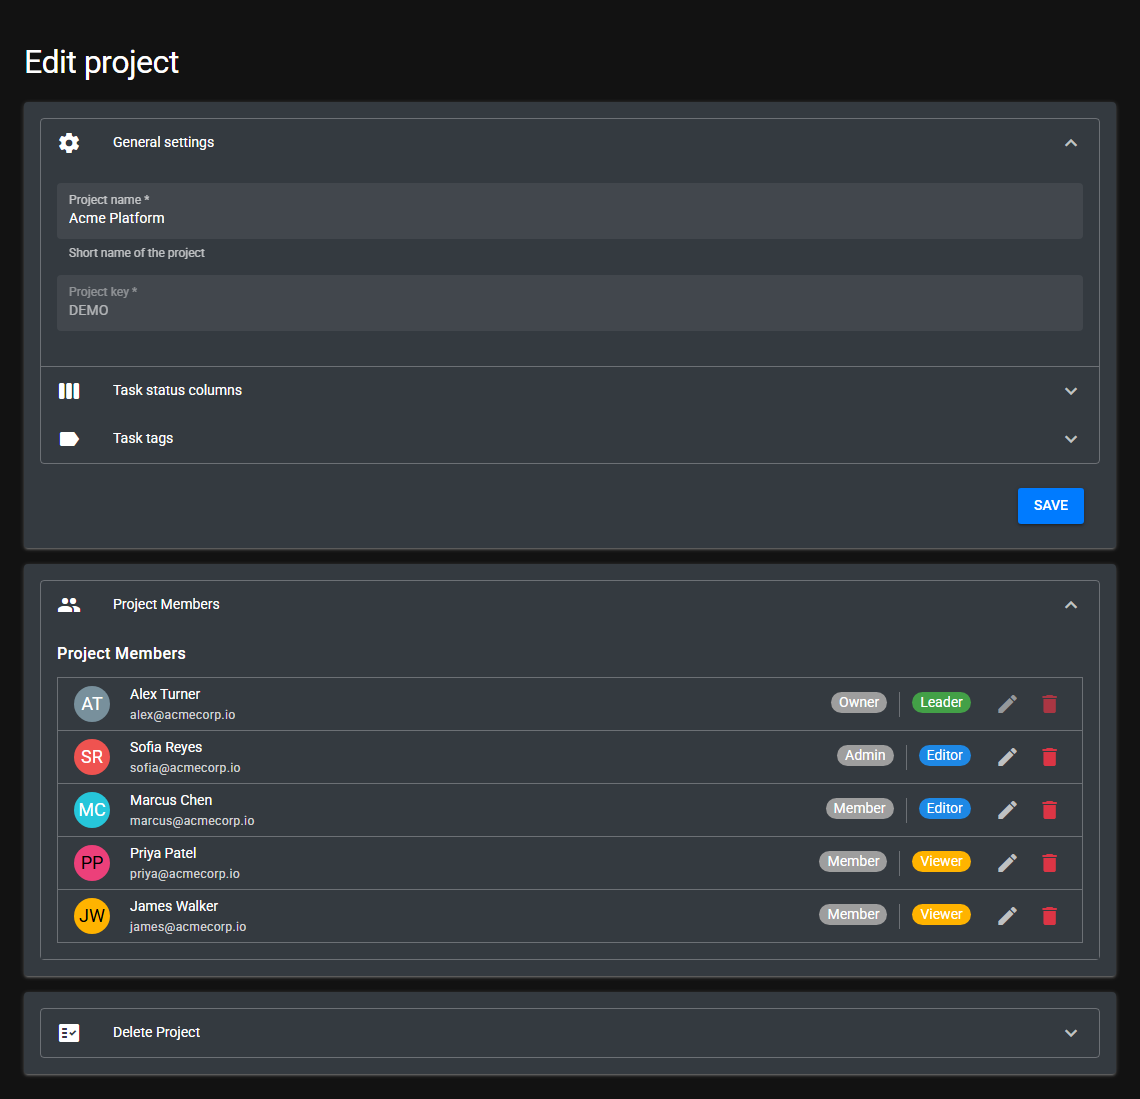
- Enter a project name.
- Enter a project key. The key uses letters only, is converted to uppercase, and becomes the prefix for task keys.
- Click Create.
Configure status columns
Every project starts with three default statuses: To Do, In Progress, and Done. You can rename statuses, add new ones, reorder them, and mark a status as closed. Closed statuses are useful for completed or archived work. For status details, see Using Workflows & Statuses.
Add tags
Project tags help classify tasks and power board filters. Use the Tags section to create tag names and colors. See Using Task Tags and Board Filters.
Manage project members
After the project is saved, use the Project Members panel to assign account users as Leader, Editor, or Viewer. Account Owners and Admins have broad project access, but project roles still help clarify day-to-day collaboration. See Project Roles: Leader, Editor, Viewer.
Next steps
Open the project board and create your first task with Creating & Assigning Tasks.